Webmin是基于Web的管理员工具,可以管理系统的许多方面。安装后,我们可以管理机器的资源,在其上运行的服务器应用程序,设置cronjobs,仅举几例。它带有自己的http服务器,不需要其他容器或网络服务器。可通过Web界面访问丰富的功能集,因此我们所需要的只是一个浏览器来远程管理我们的系统。
在本教程中,我们将在RHEL 8/CentOS 8,添加必要的服务文件以便于管理,并登录到WUI(Web用户界面)。
在本教程中,您将学习:
- 如何从tarball安装Webmin
- 如何添加和测试systemd服务文件
- 如何访问网页界面
在RHEL 8上安装了Webmin
使用的软件要求和约定
| 类别 | 要求,约定或使用的软件版本 |
|---|---|
| 系统 | RHEL 8 /CentOS 8 |
| 软件 | Webmin 1.900 |
| 其他 | 以root身份或通过root特权访问Linux系统sudo命令。 |
| 约定 | #-要求给出linux命令可以直接以root用户身份或通过使用root特权以root特权执行sudo命令$-要求给出linux命令以普通非特权用户身份执行 |
如何在Redhat 8上逐步安装Webmin
(adsbygoogle = window.adsbygoogle || [])。push({});
Webmin唯一需要的就是一些perl软件包。我们将作为root用户和Webmin需要以root用户身份运行,以便能够管理所有内容。
- 为了在安装之前解决依赖关系,我们可以使用
dnf至安装包Net::SSLeay如下所示:dnf install perl perl-Net-SSLeay另一个需要的模块是
Encode::Detect。如果有,我们可以轻松安装此模块cpan已安装:cpan[1]> install "Encode::Detect" [...] JGMYERS/Encode-Detect-1.01.tar.gz ./Build install -- OK模块安装成功后,我们可以退出
cpan,我们暂时将不需要它。cpan[2]> exit - 接下来,我们下载Webmin的压缩包:
# wget http://prdownloads.sourceforge.net/webadmin/webmin-1.900.tar.gz并将其提取:
# tar -xvf webmin-1.900.tar.gz然后输入在该过程中创建的目录:
# cd webmin-1.900/ - 我们调用安装脚本,并且需要回答一些问题。此处给出的参数是将Webmin安装到的目标目录。这可以是任何方便的方法。就本教程而言,我们将所有内容保留为默认值。
# ./setup.sh /usr/local/webmin

***********************************************************************
*            Welcome to the Webmin setup script, version 1.900        *
***********************************************************************
Webmin is a web-based interface that allows Unix-like operating
systems and common Unix services to be easily administered.

Installing Webmin from /root/temp/webmin-1.900 to /usr/local/webmin ...

***********************************************************************
Webmin uses separate directories for configuration files and log files.
Unless you want to run multiple versions of Webmin at the same time
you can just accept the defaults.

Config file directory [/etc/webmin]: ENTER
Log file directory [/var/webmin]: ENTER

***********************************************************************
Webmin is written entirely in Perl. Please enter the full path to the
Perl 5 interpreter on your system.

Full path to perl (default /usr/bin/perl): ENTER

Testing Perl ...
Perl seems to be installed ok

***********************************************************************
For Webmin to work properly, it needs to know which operating system
type and version you are running. Please select your system type by
entering the number next to it from the list below
---------------------------------------------------------------------------
  1) Pardus Linux           2) SmartOS                3) Sun Solaris
  4) Lycoris Desktop/LX     5) Caldera OpenLinux eS   6) Caldera OpenLinux
  7) Asianux Server         8) Asianux                9) Whitebox Linux
 10) Tao Linux             11) CentOS Linux          12) Springdale Linux
 13) Virtuozzo Linux       14) Scientific Linux      15) Gralinux
 16) NeoShine Linux        17) Endian Firewall Linu  18) Oracle Enterprise Li
 19) Oracle VM             20) XenServer Linux       21) CloudLinux
 22) MostlyLinux           23) Cloudrouter Linux     24) Sangoma Linux
 25) Redhat Enterprise Li  26) Redhat Linux Desktop  27) AlphaCore Linux
 28) X/OS Linux            29) Haansoft Linux        30) cAos Linux
 31) Wind River Linux      32) Amazon Linux          33) Redhat Linux
 34) Fedora Linux          35) White Dwarf Linux     36) Slamd64 Linux
 37) Slackware Linux       38) Xandros Linux         39) APLINUX
 40) BigBlock              41) Ubuntu Linux          42) Mepis Linux
 43) Devuan Linux          44) Raspbian Linux        45) Linux Mint
 46) Debian Linux          47) SuSE OpenExchange Li  48) SuSE SLES Linux
 49) SuSE Linux            50) United Linux          51) Corel Linux
 52) TurboLinux            53) Cobalt Linux          54) Mandrake Linux Corpo
 55) pclinuxos Linux       56) Mageia Linux          57) Mandrake Linux
 58) Mandriva Linux        59) Mandriva Linux Enter  60) Conectiva Linux
 61) ThizLinux Desktop     62) ThizServer            63) MSC Linux
 64) SCI Linux             65) LinuxPPC              66) Trustix SE
 67) Trustix               68) Tawie Server Linux    69) TinySofa Linux
 70) Cendio LBS Linux      71) Ute Linux             72) Lanthan Linux
 73) Yellow Dog Linux      74) Corvus Latinux        75) Immunix Linux
 76) Gentoo Linux          77) Secure Linux          78) OpenNA Linux
 79) SoL Linux             80) Coherent Technology   81) Playstation Linux
 82) StartCom Linux        83) Yoper Linux           84) Caixa Magica
 85) openmamba Linux       86) FreeBSD               87) DragonFly BSD
 88) OpenBSD               89) NetBSD                90) BSDI
 91) HP/UX                 92) SGI Irix              93) DEC/Compaq OSF/1
 94) IBM AIX               95) SCO UnixWare          96) SCO OpenServer
 97) Mac OS X              98) Darwin                99) OpenDarwin
 100) Cygwin                101) Sun Java Desktop Sys  102) Synology DSM
 103) Generic Linux         104) Windows
---------------------------------------------------------------------------
Operating system: 25

Please enter the version of Redhat Enterprise Linux you are running
Version: 8

Operating system name:    Redhat Enterprise Linux
Operating system version: 8

***********************************************************************
Webmin uses its own password protected web server to provide access
to the administration programs. The setup script needs to know :
 - What port to run the web server on. There must not be another
   web server already using this port.
 - The login name required to access the web server.
 - The password required to access the web server.
 - If the webserver should use SSL (if your system supports it).
 - Whether to start webmin at boot time.

Web server port (default 10000): ENTER
Login name (default admin):  ENTER
Login password: type secure password
Password again: type secure password again
Use SSL (y/n): n
Webmin does not support being started at boot time on your system.
***********************************************************************
Copying files to /usr/local/webmin ..
..done

Creating web server config files..
..done

Creating access control file..
..done

Inserting path to perl into scripts..
..done

Creating start and stop scripts..
..done

Copying config files..
..done

Creating uninstall script /etc/webmin/uninstall.sh ..
..done

Changing ownership and permissions ..
..done

Running postinstall scripts ..
..done

Enabling background status collection ..
..done

Attempting to start Webmin mini web server..
Starting Webmin server in /usr/local/webmin
Cron 15468873867543 missing any time spec
..done

***********************************************************************
Webmin has been installed and started successfully. Use your web
browser to go to

  http://rhel8lab.linuxconfig.org:10000/

and login with the name and password you entered previously.
请注意,对于此版本的Webmin,RHEL 8太新了,因此尚不支持在引导时自动启动。我们将通过解决
systemd。 - 在访问WUI之前,我们需要打开主机上的端口。防火墙我们将Webmin设置为在该端口上运行,在本例中为默认端口
10000:# firewall-cmd --zone=public --add-port=10000/tcp --permanent success # firewall-cmd --reload success - 接下来,我们创建服务文件,名为
/etc/systemd/system/webmin.service具有以下内容:[Unit] Description=Webmin Requires=local-fs.target After=basic.target Conflicts=shutdown.target [Service] Type=oneshot RemainAfterExit=yes ExecStart=/etc/webmin/start ExecStop=/etc/webmin/stop ExecReload=/etc/webmin/reload [Install] WantedBy=multi-user.target我们需要重新加载
systemd,因此可以看到更改:# systemctl daemon-reload请记住,在上一步中执行的安装脚本还启动了Webmin服务,该服务不在以下领域
systemd在这一刻。 - 我们将通过输入自己的脚本来停止服务器
/etc/webmin目录,并执行stop安装程序生成的脚本:# ./stop Stopping Webmin server in /usr/local/webmin - 现在,我们可以安全地管理服务
systemd:# systemctl start webmin并检查其状态:
# systemctl status webmin webmin.service - Webmin Loaded: loaded (/etc/systemd/system/webmin.service; disabled; vendor preset: disabled) Active: active (exited) since Mon 2019-01-07 20:31:31 CET; 45min ago Process: 16004 ExecStart=/etc/webmin/start (code=exited, status=0/SUCCESS) Main PID: 16004 (code=exited, status=0/SUCCESS) Tasks: 0 (limit: 12544) Memory: 2.3M CGroup: /system.slice/webmin.service - 我们可以在启动时添加缺少的自动启动启用系统服务:
# systemctl enable webmin Created symlink /etc/systemd/system/multi-user.target.wants/webmin.service -> /etc/systemd/system/webmin.service. - 并通过输入以下内容从浏览器访问此功能丰富的工具
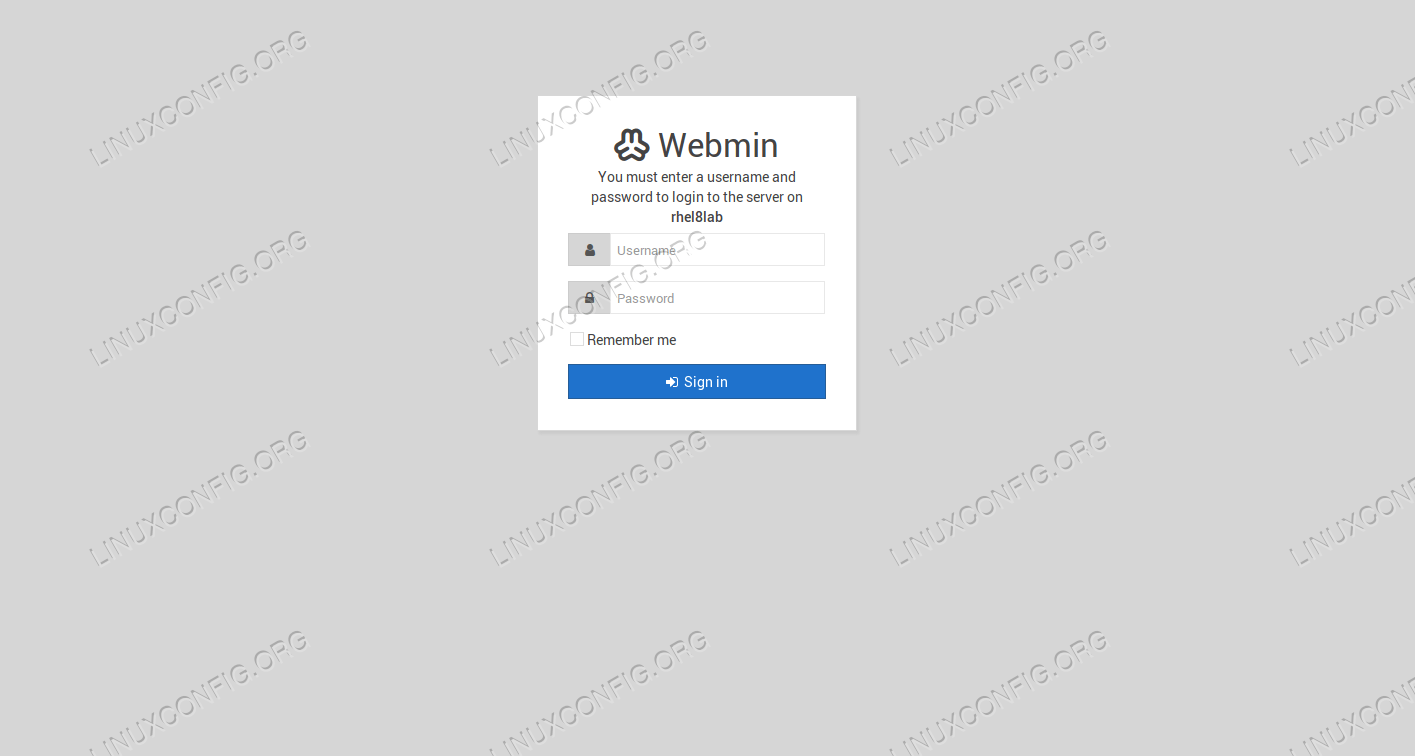
http://<name-or-ip-address-of-the-machine>:10000浏览器的地址栏。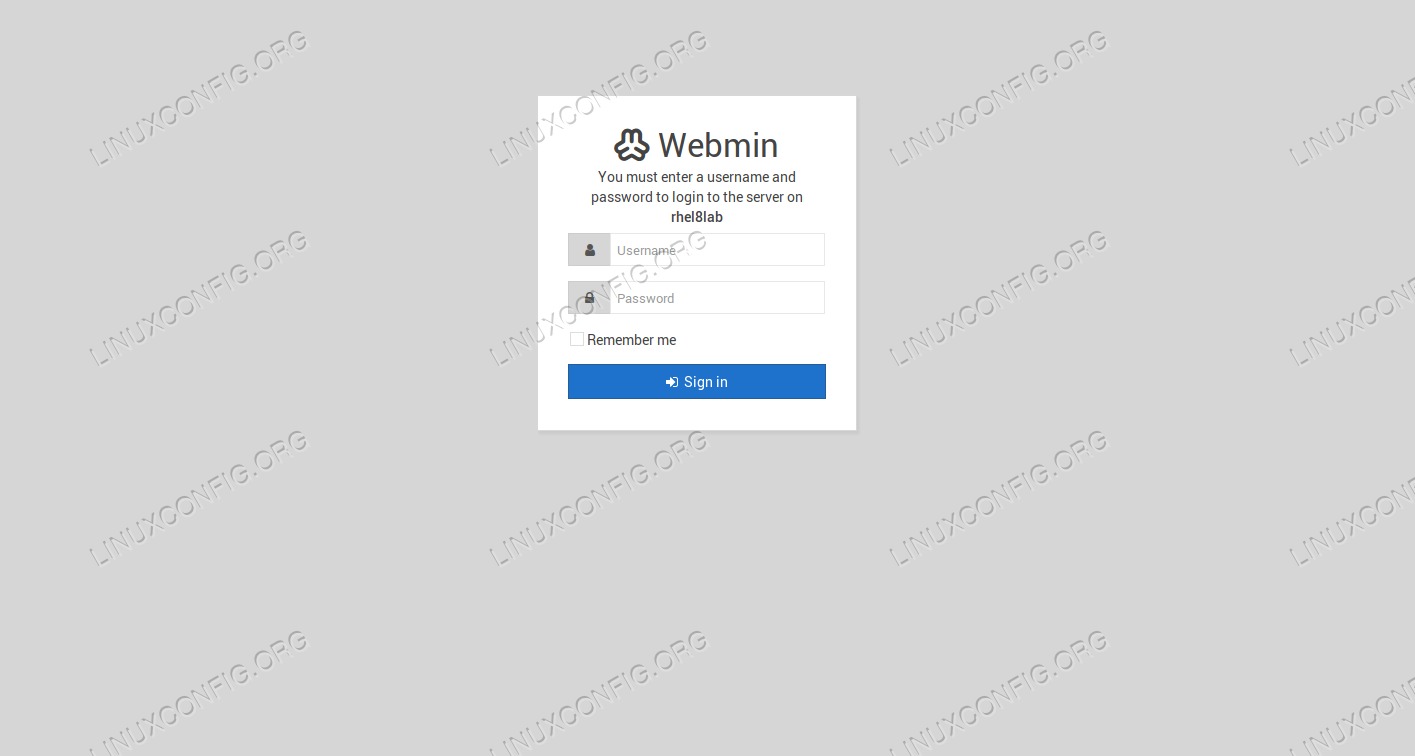 Webmin的登录页面。
我们需要提供在设置过程中指定的管理员用户名和密码,然后就可以开始使用新的管理界面了。
(adsbygoogle = window.adsbygoogle || [])。push({});
(adsbygoogle = window.adsbygoogle || [])。push({});
(adsbygoogle = window.adsbygoogle || [])。push({});