问题描述
在Ubuntu上安装Android SDK /ADT Bundle需要做什么?
答案中的每个步骤都在一些不同的论坛上发现,因为我遇到了开始使用我的Android SDK的障碍,并在之后的相应论坛中发布了问题。所以我认为这将是有用的,因为它是可用的一站式解决方案,以防万一需要re-install Ubuntu并从头安装Android SDK /ADT Bundle!
最佳解决方法
其实,我认为你应该使用Android Studio开发android应用程序。但是,如果您有使用eclipse的理由,则可以按照以下指南进行操作。
Target     : Super Newbies
IDE        : Eclipse
Description: Provide a GUI method to install Android IDE using Eclipse
1.安装Java运行时(JDK)和Eclipse IDE
-
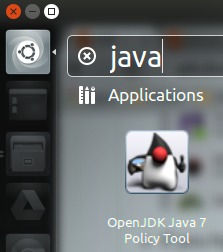
在Ubuntu上搜索
Software并启动Ubuntu Software Center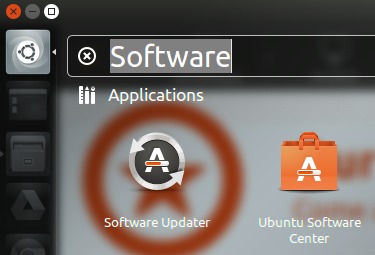
-
在
Ubuntu Software Center上搜索Java,然后安装OpenJDK Java Runtime。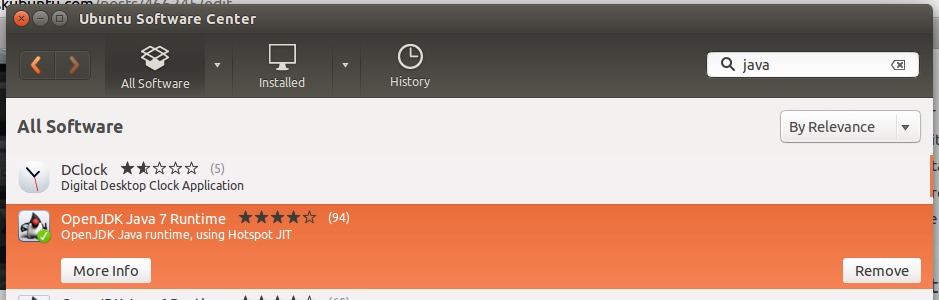
-
在
Ubuntu Software Center上搜索Eclipse,然后进行安装。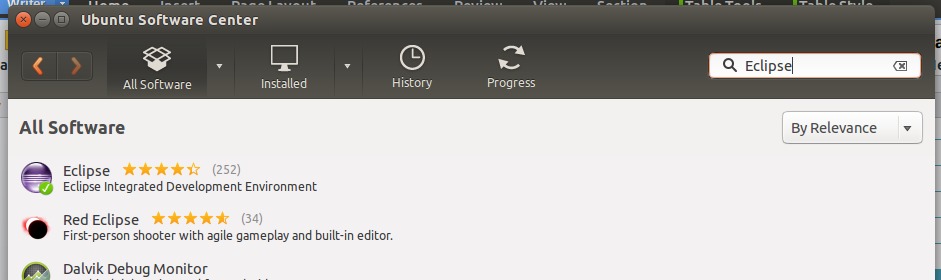
-
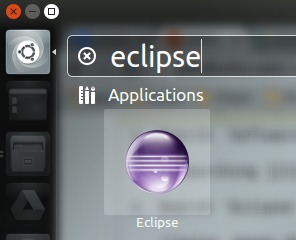
如果您已成功安装eclipse和JDK,它将出现在计算机上的搜索结果中。
-
对于JDK,也可以按
CTRL+ALT+T打开一个终端并输入命令java -version再次检查。
-
提示:在启动器上锁定eclipse图标。


2.下载SDK
-
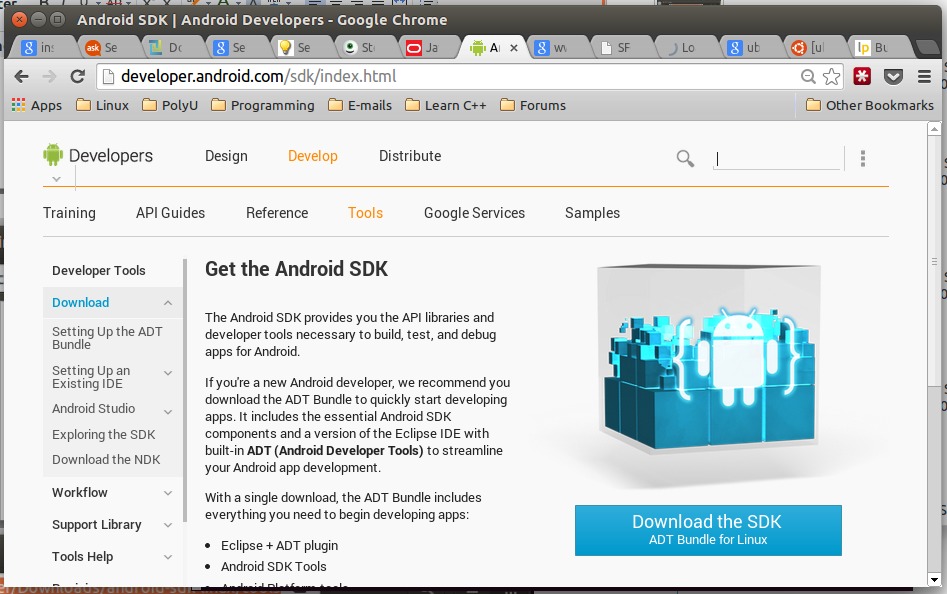
转到http://developer.android.com/sdk/index.html下载最新版本的SDK。
-
向下滚动并单击
DOWNLOAD FROM OTHER PLATFORMS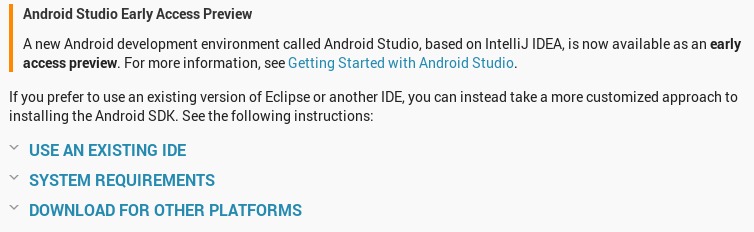
-
单击
SDK Tools OnlyLinux 32 & 64-bit下的android-sdk_r22.6.2-linux.tgz。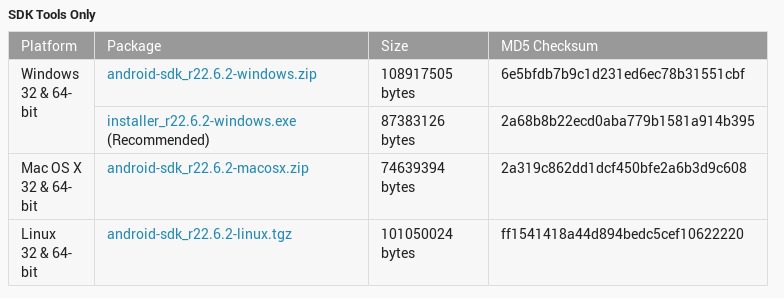
-
勾选
I have read and agree with the above terms and conditions并单击Download android-sdk_r22.6.2-linux.tgz。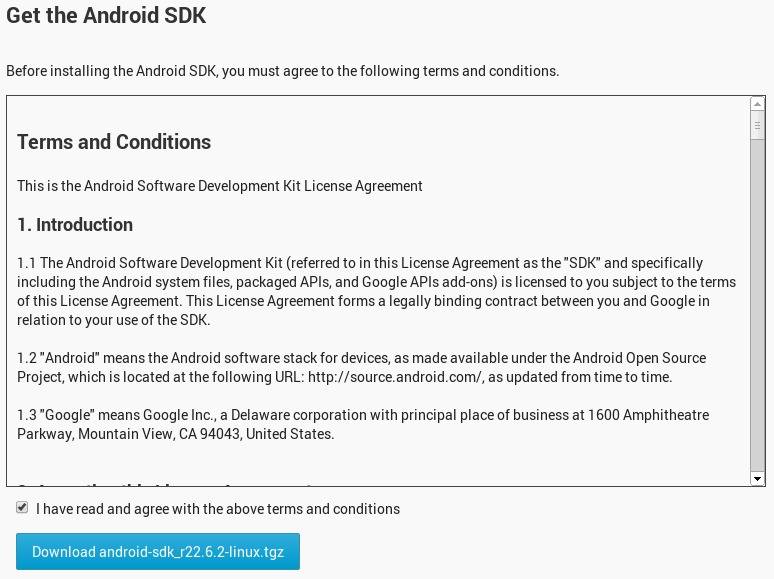
-
等待下载过程。


3.准备安装
-
转到您设置为下载文件的位置。
-
Rigth单击文件[.tgz]并选择
Extract Here。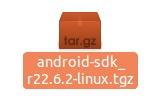
-
现在您可以看到名为
android-sdk-linux的文件如下所示。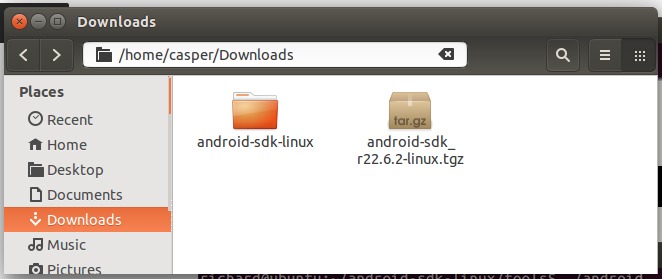
-
进入文件夹
android-sdk-linux。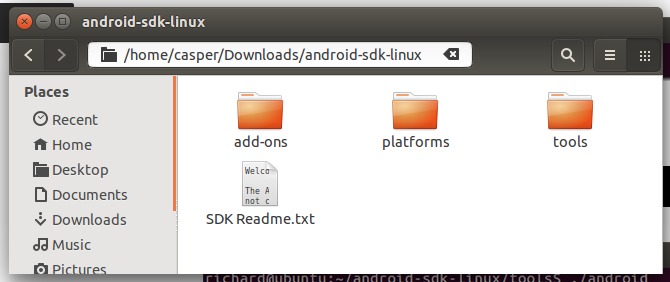
-
输入文件夹
tools,然后复制文件夹位置。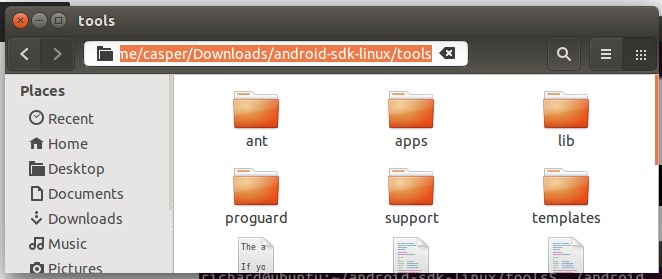
-
按下
CTRL+ALT+T键打开一个终端,然后使用以下命令。/home/casper/Downloads/android-sdk-linux/tools是我之前复制的位置。您只需键入cd并右键单击以将该位置过滤到终端。cd /home/casper/Downloads/android-sdk-linux/tools ./android -
现在
Android SDK Manager将运行。


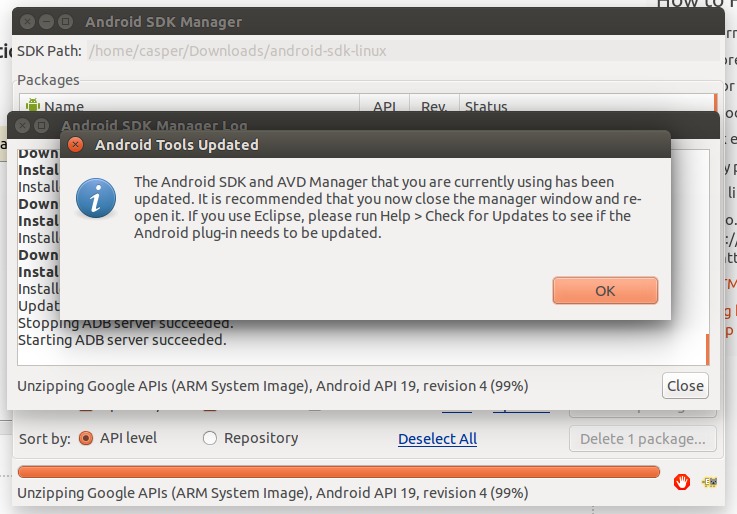
4.安装软件包
-
点击
Install [Number] packages...。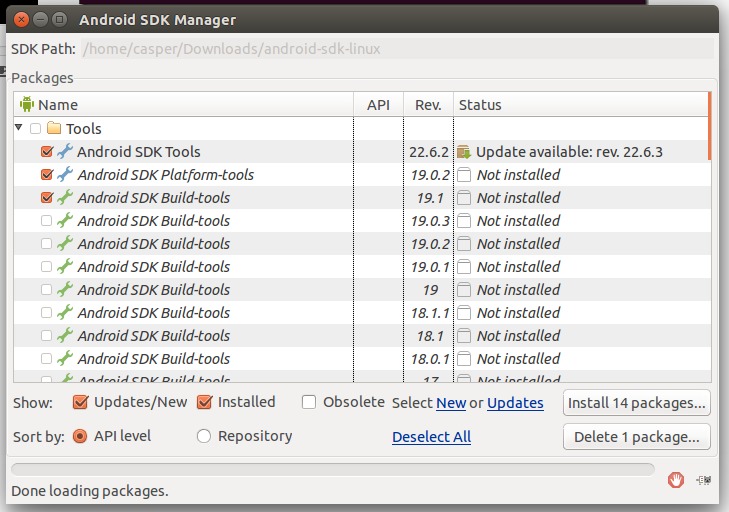
-
单击
Accept License,然后单击Install。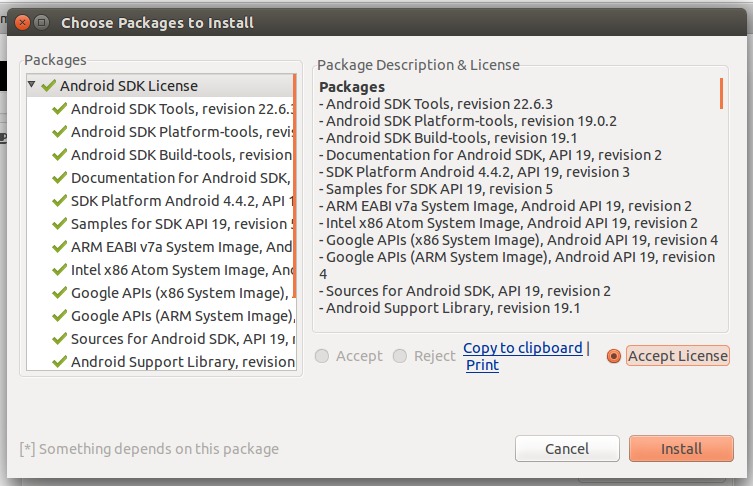
-
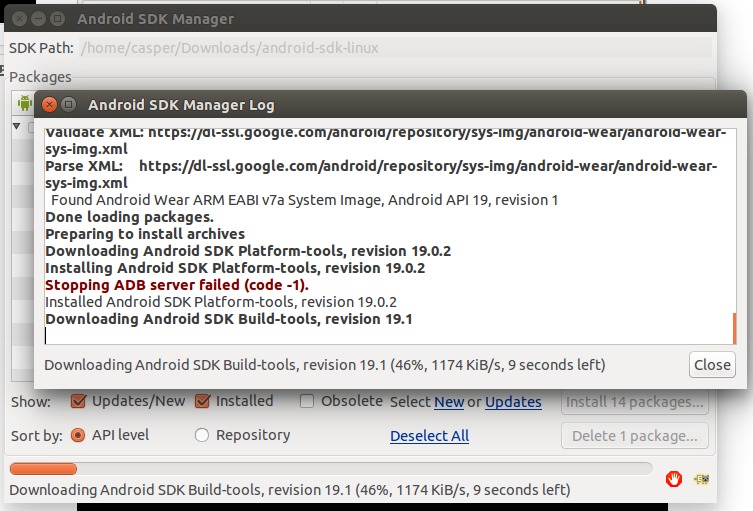
等待安装过程。
-
最后,将显示此消息。


5.编辑”.bashrc”
-
按
CTRL+ALT+T打开一个新终端并键入:gedit ~/.bashrc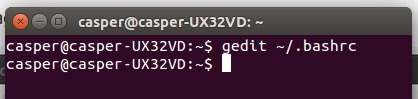
-
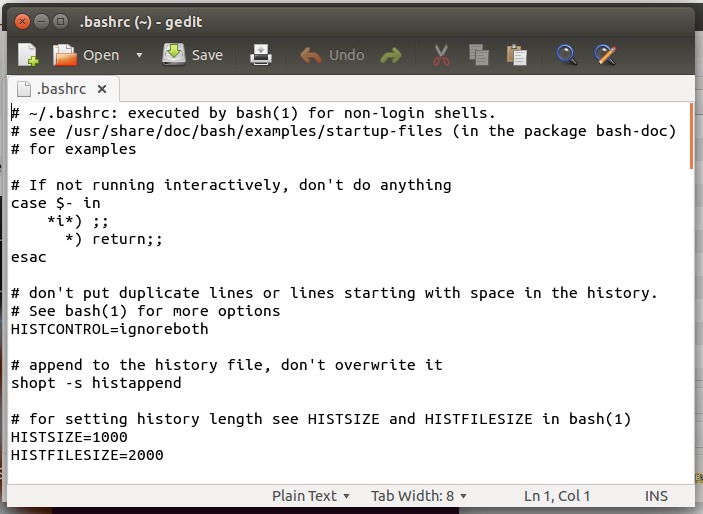
现在将出现以下文本。
-
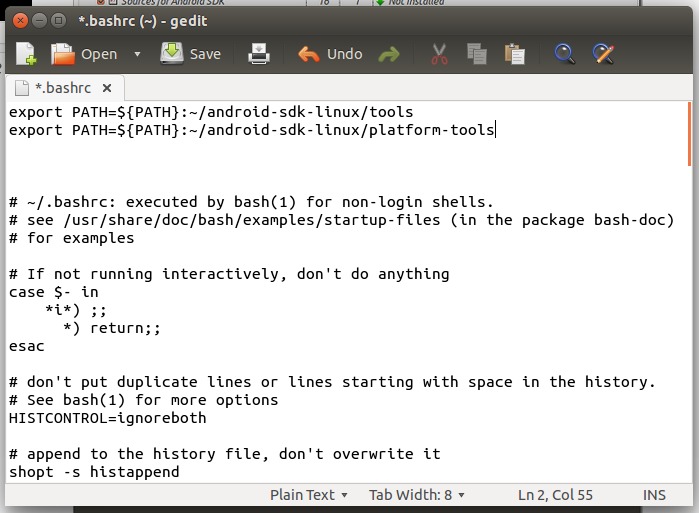
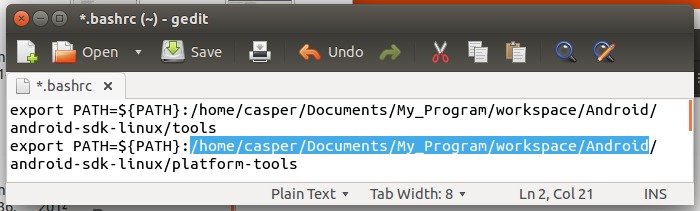
将以下内容添加到整个文本的顶部,然后保存它。 (不要关闭文件)
export PATH=${PATH}:~/android-sdk-linux/tools export PATH=${PATH}:~/android-sdk-linux/platform-tools -
示例:
-
[推荐]将整个文件
android-sdk-linux移动到您的eclipse的工作区,并在您创建的名为Android的文件夹下。而且,你必须复制位置。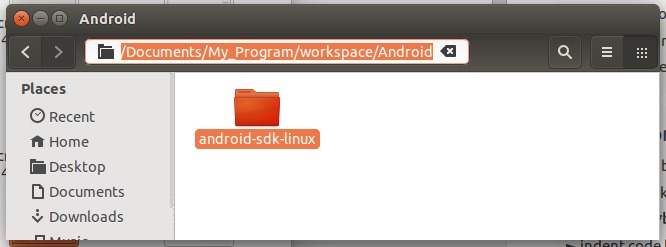
-
现在回到”.bashrc”文件,并用先前复制的位置替换’~’,然后保存并关闭它。
-
注销并重新登录你的Ubuntu系统。


6.设置Android虚拟设备
-
按
CTRL+ALT+T并键入android avd打开Android虚拟设备管理器。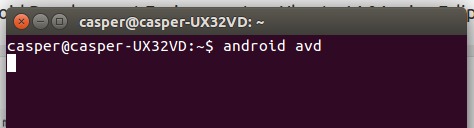
-
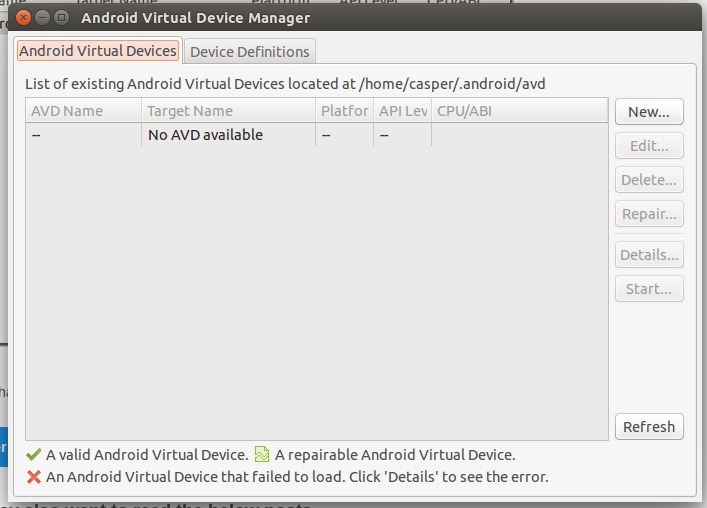
点击
New...。设置如下,然后点击OK。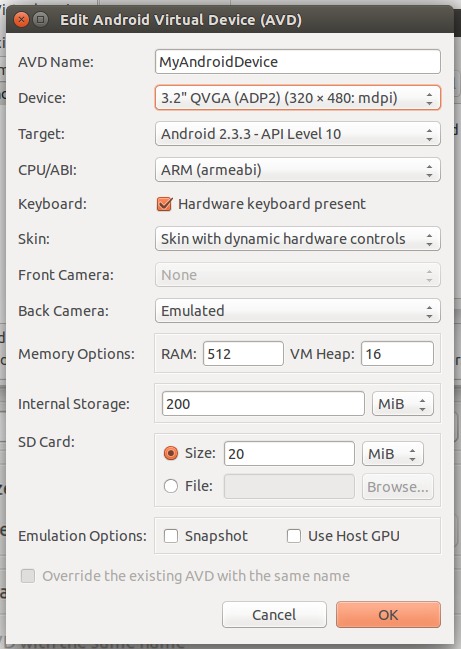
-
点击你的虚拟设备,然后点击
Start...。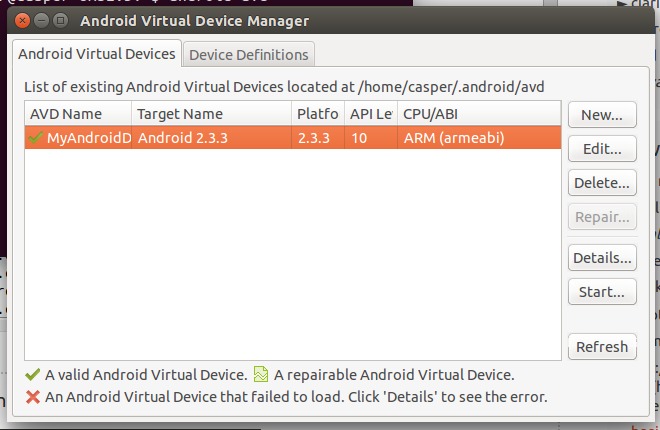
-
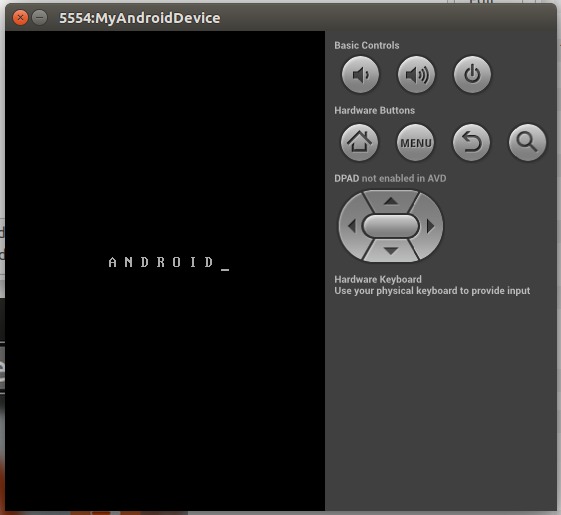
点击
Launch。
-
启动您的虚拟设备


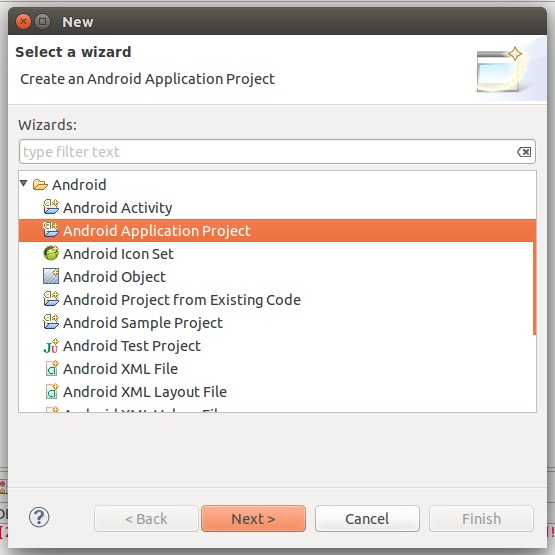
7.在Eclipse上安装ADT插件
-
启动Eclipse并转到
Help– >Install New Software...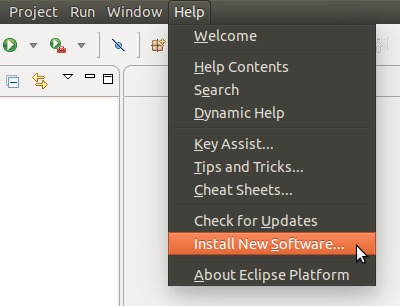
-
点击
Add...。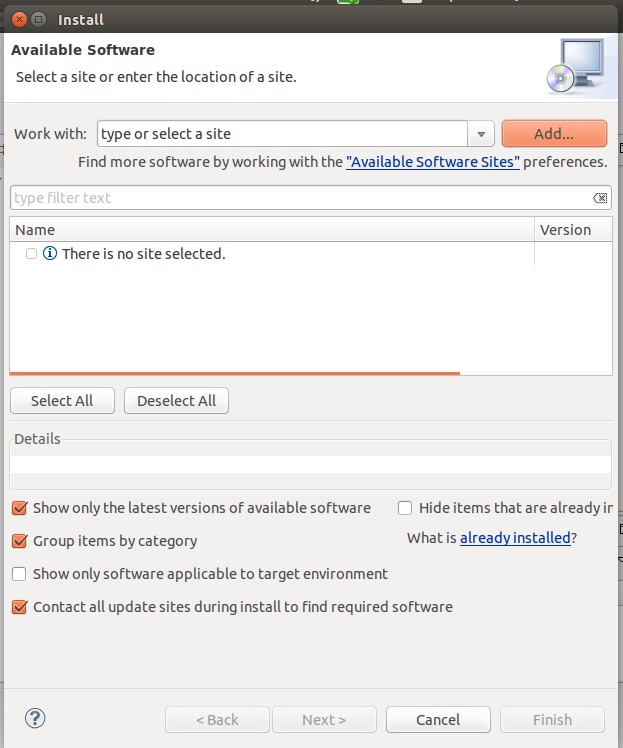
-
键入以下内容,然后单击
OK。Name : ADT Plugin Location : https://dl-ssl.google.com/android/eclipse/ -
选中
Developer Tools复选框,然后单击Next>。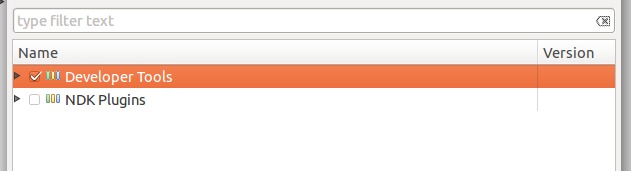
-
点击
Next>。
-
点击“我接受…”并点击
Finish。
-
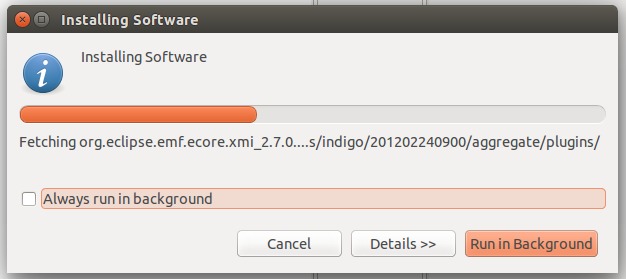
等待安装过程。
-
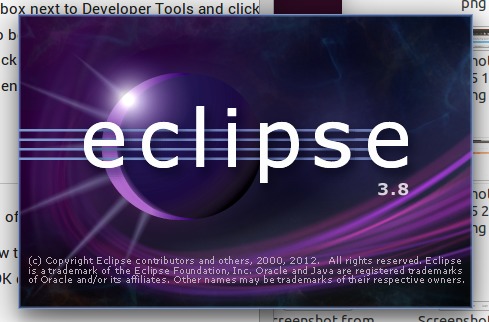
重新开启eclipse。
-
点击
Open Preferences。
-
复制您自己的SDK位置(文件
android-sdk-linux的位置)。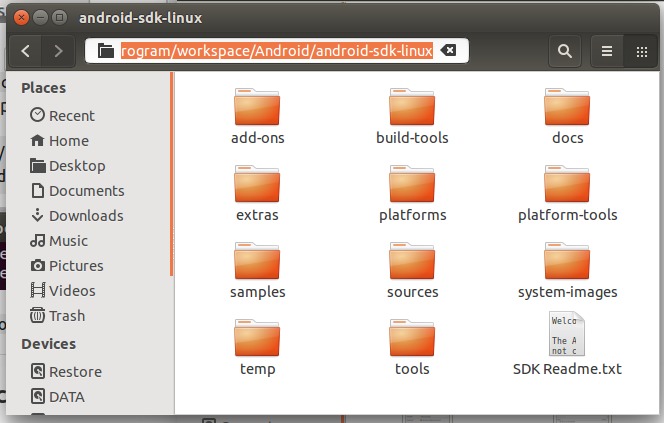
-
粘贴到
SDK Location:文本框,然后单击Apply和OK。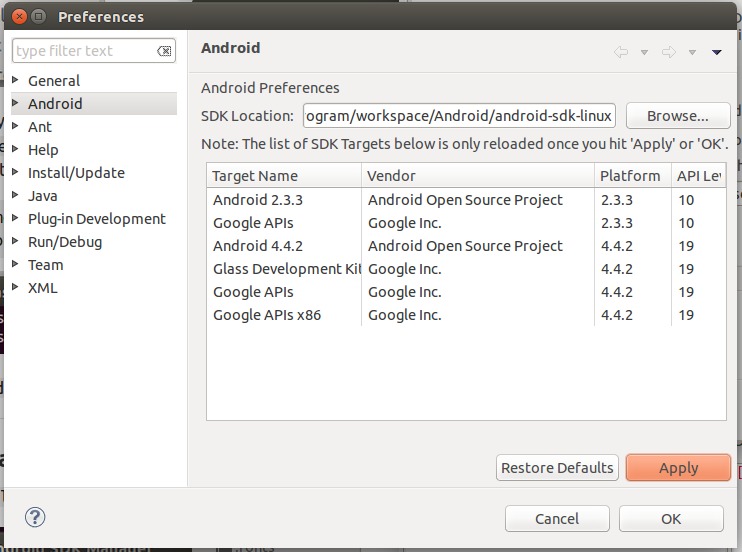
-
享受与您的Ubuntu创建任何Android应用程序。


次佳解决方法
步骤1
Check in System Settings -> Details, whether your Ubuntu is 32-bit or 64-bit
第2步
(Using software centre or command lines) If your Ubuntu is a 32-bit OS then install
libgl1-mesa-devIn case of 64-bit OS install
ia32-libs(Ubuntu 13.04 or earlier), orlibgl1-mesa-dev:i386(Ubuntu 13.10 and above)
第3步
Install
openjdk-8-jdk. If not compatible tryopenjdk-7-jdk, or if still not compatibleopenjdk-6-jdk
步骤4
Download the Android SDK command line tools here (they’re located at the bottom of the page) and unzip it to a place where you can leave it as long as you need the Android SDK,
/opt/for instance.
第5步
Check that the unzipped ADT Bundle folder (or Android SDK folder, as the case may be) have the folders
toolsandplatform-tools. Ifplatform-toolsfolder is absent, you should be able to install it from the android virtual device manager, which can be run by typing the commandandroidin the terminal. These folders contain some important commands stored. Add them to your executable path. Adding them to the path can be done as follows:
First execute
gedit ~/.pam_environment. A file opens. Just add these lines to that file:PATH DEFAULT=${PATH}:/path/to/tools PATH DEFAULT=${PATH}:/path/to/platform-toolsHere you have to replace
/path/to/toolsand/path/to/platform-toolsby the absolute paths according to where you unzipped the SDK or the ADT bundle download. Now all the commandsadb,android,emulatoretc can be simply executed in the terminal without giving absolute paths. That is, you will not get a “command not found” error if you gave it without its absolute path.
第6步
Type
androidinto the terminal and, if Step 5 was done correctly, the Android SDK Package Tool will start, where you can finish your installation.
第三种解决方法
这似乎是一个很长的答案,但我试图尽可能详细地解释每一步,所以没有什么可以出错。即使作为初学者,您也可以在不到5分钟的时间内完成设置。
-
您需要Java才能使用Eclipse,因此请先安装它:Eclipse是IDE。 Android ADT软件包默认与Eclipse IDE捆绑在一起。如果您愿意,也可以选择使用其他IDE(例如NetBeans),但由于Eclipse是默认设置,因此本教程仅介绍Eclipse。
-
打开终端在您的Dash中搜索或按
CTRL+ALT+T
-
执行以下命令:
sudo apt-get update
sudo apt-get install openjdk-7-jdk
检查您是否在屏幕上看到任何错误,然后继续。
-
-
现在下载Android ADT包(这是Eclipse + Android SDK):
-
点击here进入下载页面。
-
点击
Download the SDK (ADT Bundle for Linux) -
检查
I have read and agree with the above terms and conditions -
选择您的架构:How can I check this?
-
如果你有一个32位的Ubuntu,请检查
32-bit -
如果您使用的是64位Ubuntu,请检查
64-bit
-
-
点击
Download the SDK ADT Bundle for Linux
-
-
安装Android ADT软件包:
-
打开刚刚下载的
.zip文件 -
将所有文件解压缩到一个目录,例如:
~/ADT解压后,该目录应该包含2个其他目录:
~/ADT/eclipse
~/ADT/sdk
-
-
将
platform-tools二进制文件添加到您的$PATH:这不是必须的,它会使adb等命令从终端访问。-
打开一个终端
-
执行以下命令:
nano ~/.profile -
在顶部添加以下行:
PATH="$HOME/ADT/sdk/platform-tools:$PATH" -
保存文件您可以通过按
CTRL+X,Y,ENTER
-
-
在您的Dash中创建快捷方式以轻松启动ADT:
-
打开一个终端
-
执行以下命令
nano ~/.local/share/applications/adt.desktop -
粘贴这个:
这可以通过在终端窗口内右键单击来完成,然后单击
Paste。[Desktop Entry] Version=1.0 Name=Android ADT Comment=Launch the Android ADT Exec=/home/username/ADT/eclipse/eclipse Icon=/home/username/ADT/eclipse/icon.xpm Terminal=false Type=Application Categories=Development;IDE;注意:用您的用户名替换
username。您可以通过在终端中执行whoami来获取用户名。 -
保存文件
-
执行以下命令使其可执行:
chmod +x ~/.local/share/applications/adt.desktop
-

如果你做得对,你现在已经成功安装了Android ADT。打开你的Dash并搜索ADT。点击Android ADT检查它是否正常工作!
第四种方法
您也可以从this PPA安装adt和android-sdk。
sudo add-apt-repository ppa:linuxgndu/adt-raring
sudo apt-get update
sudo apt-get install adt android-sdk
要完成android-sdk的安装,您需要:
sudo sh /opt/android-sdk/install-sdk
您也可以安装android-studio:
sudo apt-get install android-studio
现在检查安装是否按预期进行:
android-sdk-manager